Booting Win EC 2013 from SD Card
Make sure the Dev Kit (or other carrier board) is set to boot from the SD card. On the dev kit this is done by using the following jumper setting for the "Boot Config" headers [0 to 11]: 000100000000 which is our standard configuration.
1) Insert a Win EC 2013 configured SD card (Flashing EBoot and OS Files to SD Card) into the MitySOM-335x Development carrier board
2) Connect the HDMI/DVI cable to a supported display or the XGA 1024x768 LCD display kit can also be used.
3) Connect a NULL modem serial cable to the J507 DB9 connector and to your computer.
4) Open a HyperTerminal (or TeraTerm) connection to the COM port connected to the device.
5) Set the port's settings to a baud of 115200 with no flow control, no parity and 8 bits.
6) Turn on the board.
7) In the Console window, press space when it asks to break into the bootloader menu (5 seconds).
8) Press [2] to enter the boot device menu.
9) Press [2] to boot from SD card.
10) Press [4] to enter the network menu.
11) Press [2] and disable KITL if it isn't already.
12) Press [9] and enable OAL messages if they aren't already.
13) Press [7] and save these settings.
14) Press [0] to boot the board
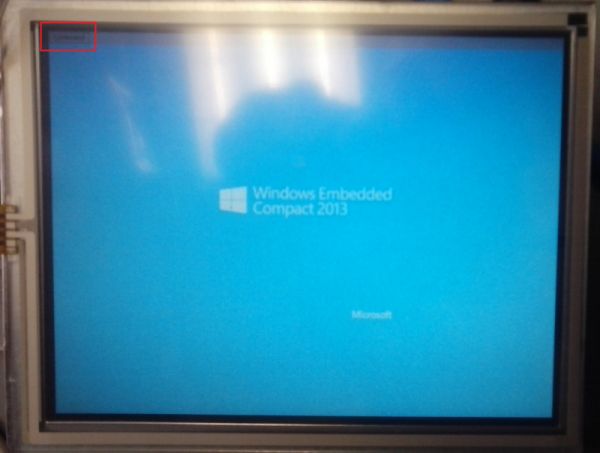
Within a few seconds you should see an Adeneo Embedded logo and another 10 to 15 seconds later the Windows EC 2013 Desktop shown on your monitor. You can use a mouse to select the "Command" button on the top left of the screen to open a command prompt.
Go to top

