Qt Starter Guide
- Table of contents
- Qt Starter Guide
This guide will step you through setting up and running a simple Qt Gui Application on your MitySOM-335x system.
Prerequisites
- Make sure you have the VM installed.
- See Getting Started AM335x for a step by step guide of this process.
- Setup assumes your using TI AM335x EVM filesystem shipped with the devkit.
Confirm that "Build Essential" is installed
- Open a terminal (Application -> Accessories -> Terminal)
- Run the following command:
sudo apt-get install build-essential
- This will cause build-essential to be installed, updated to the latest version or left alone if up to date.
Setup QT Creator
Install qtcreator version
- Open firefox in VM
QtCreator 2.6.2 seems to be the latest version of Qt Creator that can run in Ubuntu 10.04
- Download QtCreator 2.6.2 linux-x86
Attached to page in case mirror goes down. qt-creator-linux-x86-opensource-2.6.2.bin
- In the terminal: Change to the Downloads directory
cd ~/Downloads
- Make the installer executable
chmod +x qt-creator-linux-x86-opensource-2.6.2.bin
- Run the installer
./qt-creator-linux-x86-opensource-2.6.2.bin
- Accept all the defaults
Building and Compiling the GUI
- Open Qt Creator
- Go to the Tools -> Options... menu and select "Build and Run" from the left and then select the "Kits" tab that is shown.
- Click the "Desktop (default)" name under "Manual" and the properties should be shown
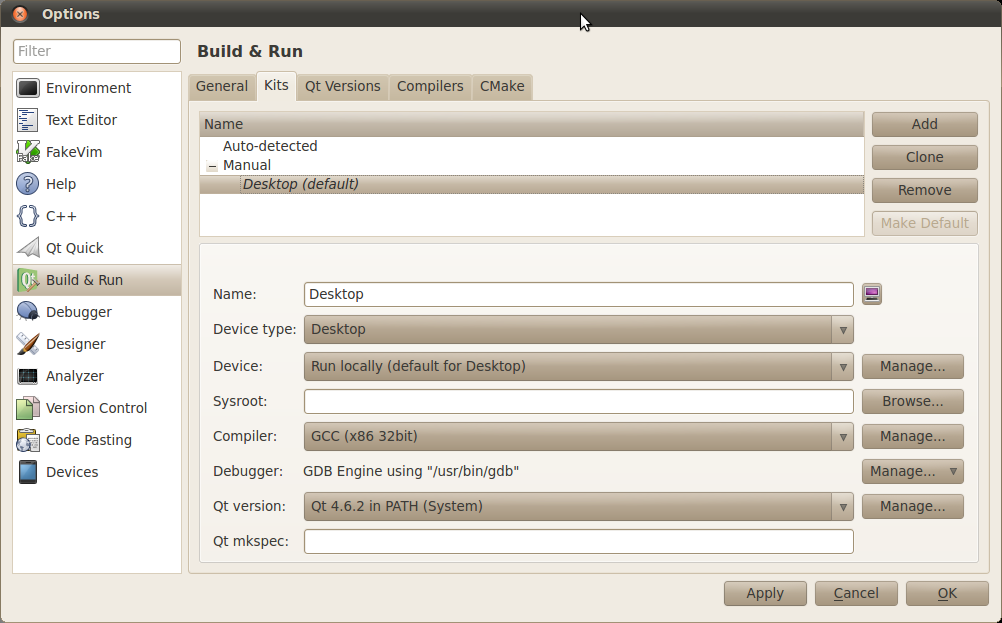
- Confirm that the "Complier" option shows "GCC (x86 32-bit)" in the drop-down.
- Apply the changes if any were made and press OK to close.
- Create a new Project targeted to be a Qt Gui Application.
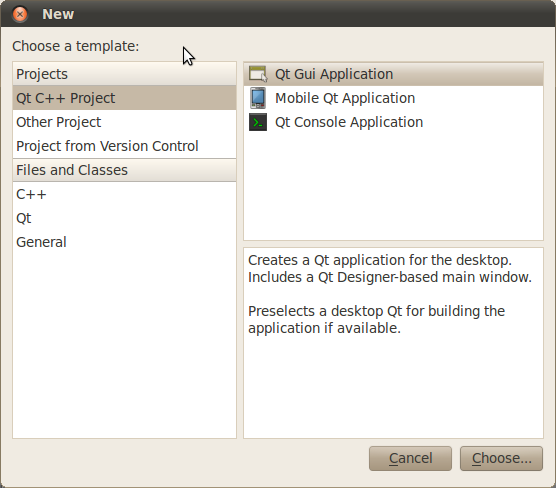
- Give the project a name "HelloWorld" and set "Create in": /home/mitydsp/projects. Click 'Next'.
- Click 'Next' a few more times, and then 'Finish' (default settings are fine for this example).
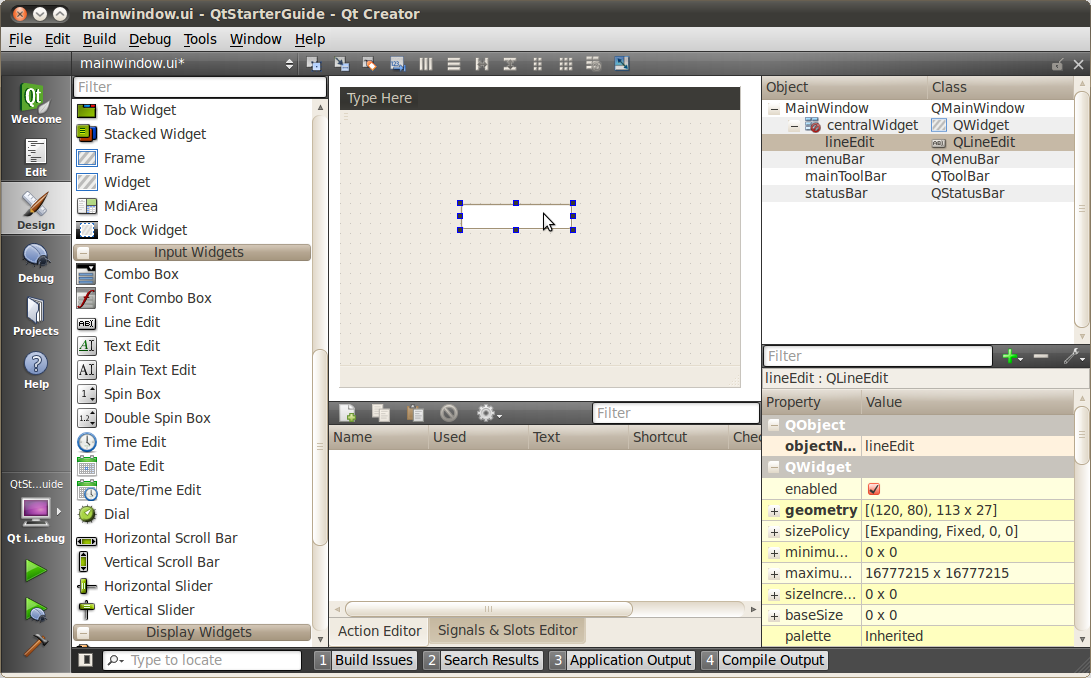
- Expand the project source tree and inside 'Forms' double-click on 'mainwindow.ui. This will open the Design view.

- Drag and drop a 'Line Edit' Input Widget from the left hand pane onto the central pane.
- Click on the 'Edit' in the left hand column of Qt Creator.
- In the project source tree, double-click on 'mainwindow.cpp' in the 'Sources' directory.
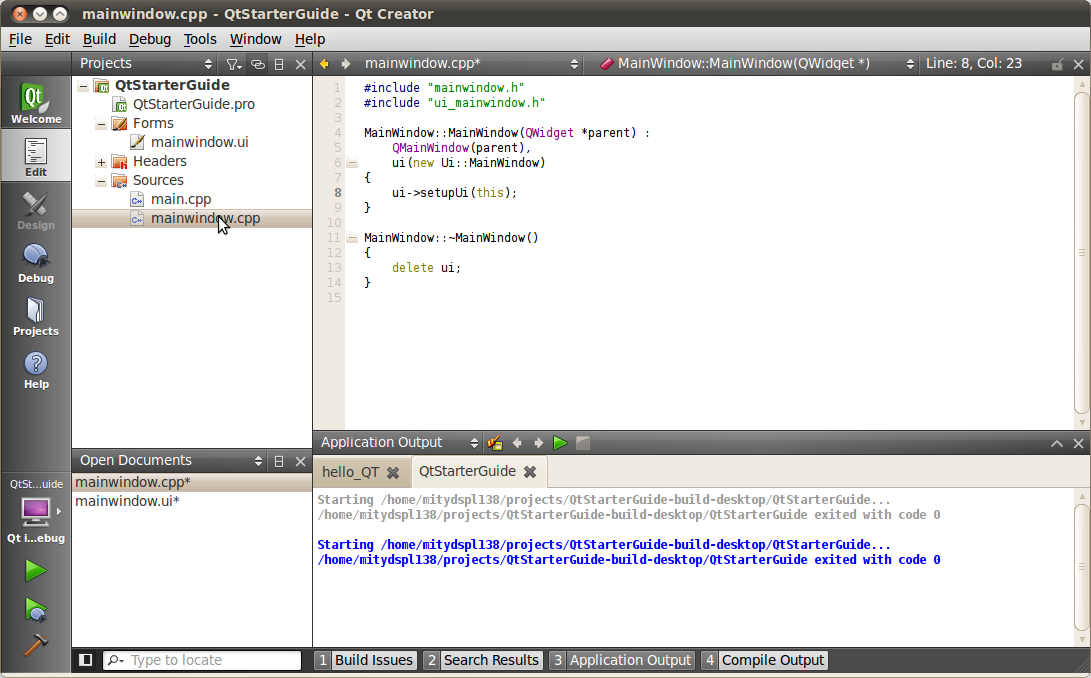
- Add 'ui->lineEdit->insert("Hello World!");' to the MainWindow class constructor.

- Save and click the green arrow in the left hand column to debug the GUI in the Linux Build VM.
- You should see the 'Hello World!' message printed to the Line Edit Input Widget.

Building project for ARM
- Open a terminal
- Setup toolchain. Make sure theres a space between the . and /usr
TI SDK Release
Make sure you've already fixed the environment-setup file. Fix toolchain environment setup script. /usr/local/ti-sdk-am335x-evm-05.03.02.00/linux-devkit/environment-setup
MDK November 2015 Yocto Release
. /opt/criticallink/mitysom-335x_20151118/environment-setup-cortexa8t2hf-vfp-neon-criticallink-linux-gnueabi
- Navigate to the project directory
cd projects/HelloWorld
- Run qmake to allow Qt to generate a Makefile
qmake
- Run make to build the project
make
- The compiled file will be HelloWorld. Use the
filecommand to verify it was build for ARM> file HelloWorld HelloWorld: ELF 32-bit LSB executable, ARM, version 1 (SYSV), dynamically linked (uses shared libs), for GNU/Linux 2.6.16, not stripped
- Transfer file to the devkit. Replace <ip address> with ip of device. This will place the file in the home directory: /home/root/
scp HelloWorld root@<ip address>:
Running the GUI on the MitySOM-335x
- Run the application from the devkit
root@mityarm-335x ~ $ ./HelloWorld -qws
You should see the GUI you created appear on the monitor connected to the devkit
QT Tips
Easier cross platform builds
Placing the following in your projects .pro file allows for easier development of your application for running on both your PC and 335x.
contains(QT_ARCH,arm) {
    DEFINES += HOST_ARM
    CONFIG += arm # Add arm so we can use arm {}
}
It allows you to use #ifdef HOST_ARM in your code around sections that can't run on your PC. For example code that touches the gpio.
The "CONFIG += arm" line allows you to easily specify configurations in your .pro file that only apply when cross compiling. Example:
arm {
    SOURCES += arm_only_code.cpp
}
Have application show up full screen on 335x
- Add the following to the main window constructor. Assumes you've included the above tip.
#ifdef HOST_ARM
    this->showFullScreen();
#else
    this->setFixedSize(800,480);  // Set this to expected screen resolution
#endif
Remove need to specify "-qws"
- In the main.cpp file replace the QApplication line with the following. Assumes you've included the above cross platform tip.
#ifdef HOST_ARM
    QApplication a(argc, argv, QApplication::GuiServer);
#else
    QApplication a(argc, argv);
#endif
Support running gui in VNC server using QT 4.7.2
- Install gfx vnc qt plugin
root@mitysom-335x ~ $ wget http://feeds.angstrom-distribution.org/feeds/unstable
/ipk/glibc/armv7a/base/libgcc1_4.3.3-r24.2.6_armv7a.ipk
root@mitysom-335x ~ $ opkg install libgcc1_4.3.3-r24.2.6_armv7a.ipk
root@mitysom-335x ~ $ opkg update
root@mitysom-335x ~ $ opkg install qt4-embedded-plugin-gfxdriver-gfxvnc
- Run application
root@mitysom-335x ~ $ QWS_SIZE=1024x768 ./calculator -qws -display VNC:0
QVNCServer created on port 5900
Could not read calibration: "/etc/pointercal"
Client protocol version RFB 003.003
Build QT 4.7.2 example apps
- Download and extract 4.7.2 source
https://download.qt.io/archive/qt/4.7/qt-everywhere-opensource-src-4.7.2.tar.gz - Build example
$ . /usr/local/ti-sdk-am335x-evm-05.03.02.00/linux-devkit/environment-setup
$ cd /data/Qt/qt-everywhere-opensource-src-4.7.2/examples/widgets/calculator/
$ qmake
$ make
...
$ scp calculator root@10.0.62.100:
calculator
Go to top

